Centering Tutorial in pictures
Centering the clay on the wheel is essential for producing a piece
that is concentric, top to bottom and has even walls. It is by no
means easy to center the clay but if you remember to coax the clay and
work with it rather than trying to force it to accept what you want it
to do, you will find it goes easier. |
Put the wedged
ball of clay firmly in the
center of the batt on the wheel. Use the palm of your hand to slap
it down as the wheel spins to make sure it is "stuck" well.
Slapping the outside area using a downward and inward pressure will help
get the ball of clay properly centered to begin your work.
|
|
Once the clay is firmly in place and somewhat centered, wet your hands.
From this point on, your hands must always be wet and you must never
touch the clay unless it is spinning.Use your body to brace your
left arm. Adjust your stool so you can brace your elbow against
your hip. You are lending strength to your arm from your body so
that you can keep the arm immovable.
The heel of your left hand will be in the 7:00 position against the
mound of clay. Use your right hand at the 2:00 position to pull
the clay toward your strong left arm as the wheel spins. As you do
that, the clay will naturally move upward.
|
|
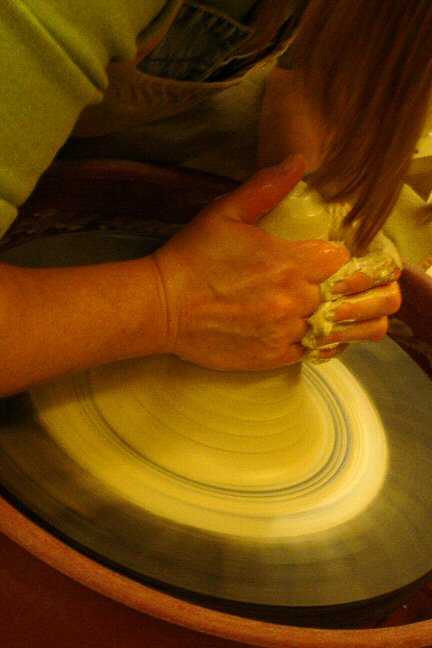
Move your wet hands up with the clay,
lessening the pressure as you go up. You want the clay to form
a centered cone.
|
|
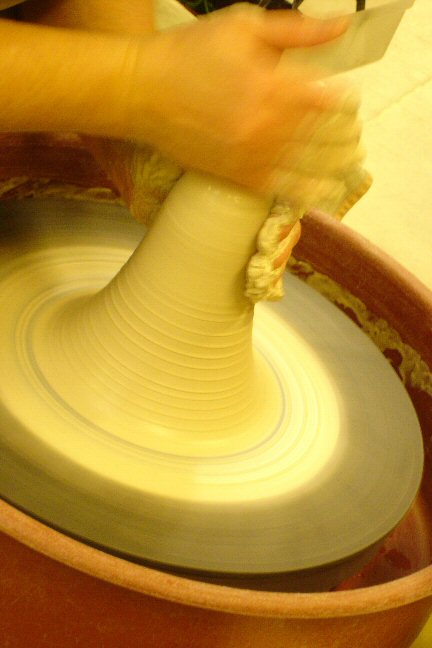
The wheel should not be spinning too
fast at this point or you may spin the top of the cone off-center.
|
|
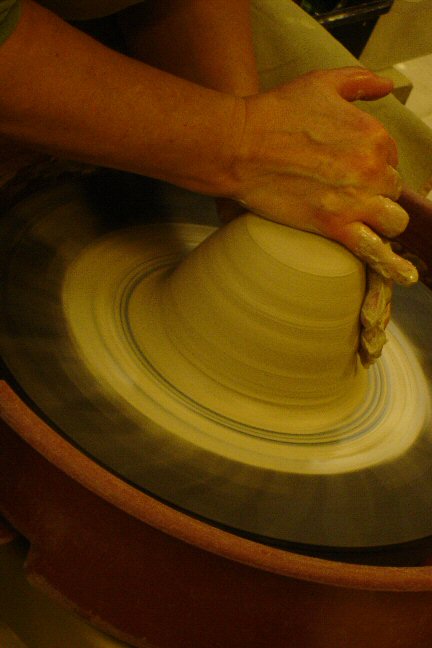
Keeping your left hand (wet, of course) against the side of the
clay, use the side of your right hand on top of the cone to bring it
back down.
|
|
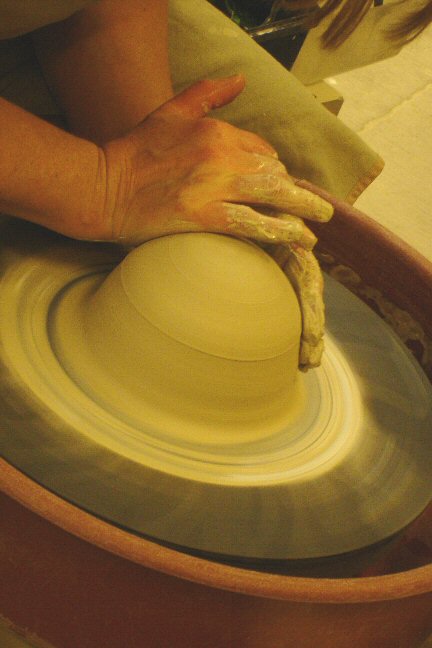
Repeat the coning and bringing back down until the clay is
centered. When your hand rests gently against the side, there
should be no variation in the contact as the wheel spins. If
one spot seems to "hit" your hand as it spins, try coning again to
get it centered.
|
|
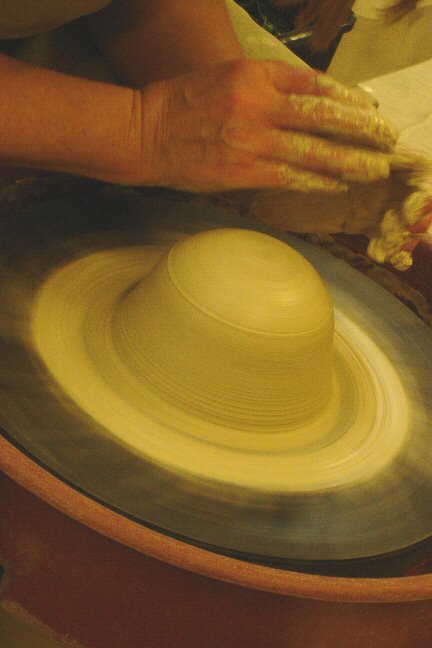
With the wheel still spinning, remove your hands from the clay.
And go on to open the clay.
|
|


